Basic Composition Rules

Making Photos Brighter or Darker

over
Overexposed photos

White areas lose detail, appearing bleached
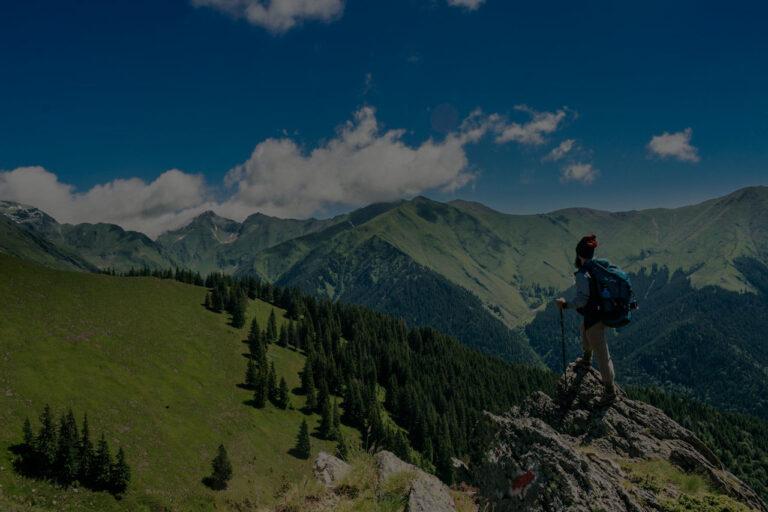
pexels-andreimike-1271619 (1)
Perfect photos

All details visible with balanced brightness

Underexposed
Underexposed photos

Dark areas are unclear, like in shadows

  • Simple test: If it looks comfortable to your eyes, it’s right
  • Too bright: Find "Exposure" slider, drag left (values become negative)
  • Too dark: Find "Exposure" slider, drag right (values become positive)
  • Recommended range: Adjust 0.5-1.0 at a time, gradually to satisfaction
  • Remember: Multiple small adjustments work better than one large change
  • Keep photos looking realistic after adjustments
  • If colors look strange after adjustment, you've overdone it
  • Compare before and after, choose what looks most comfortable
  • Remember: Natural is more important than perfect

Making Photos More Vivid

Vivid photos

Clear contrast between black and white, looks three-dimensional

Flat photos

Grayish and dull, looks two-dimensional
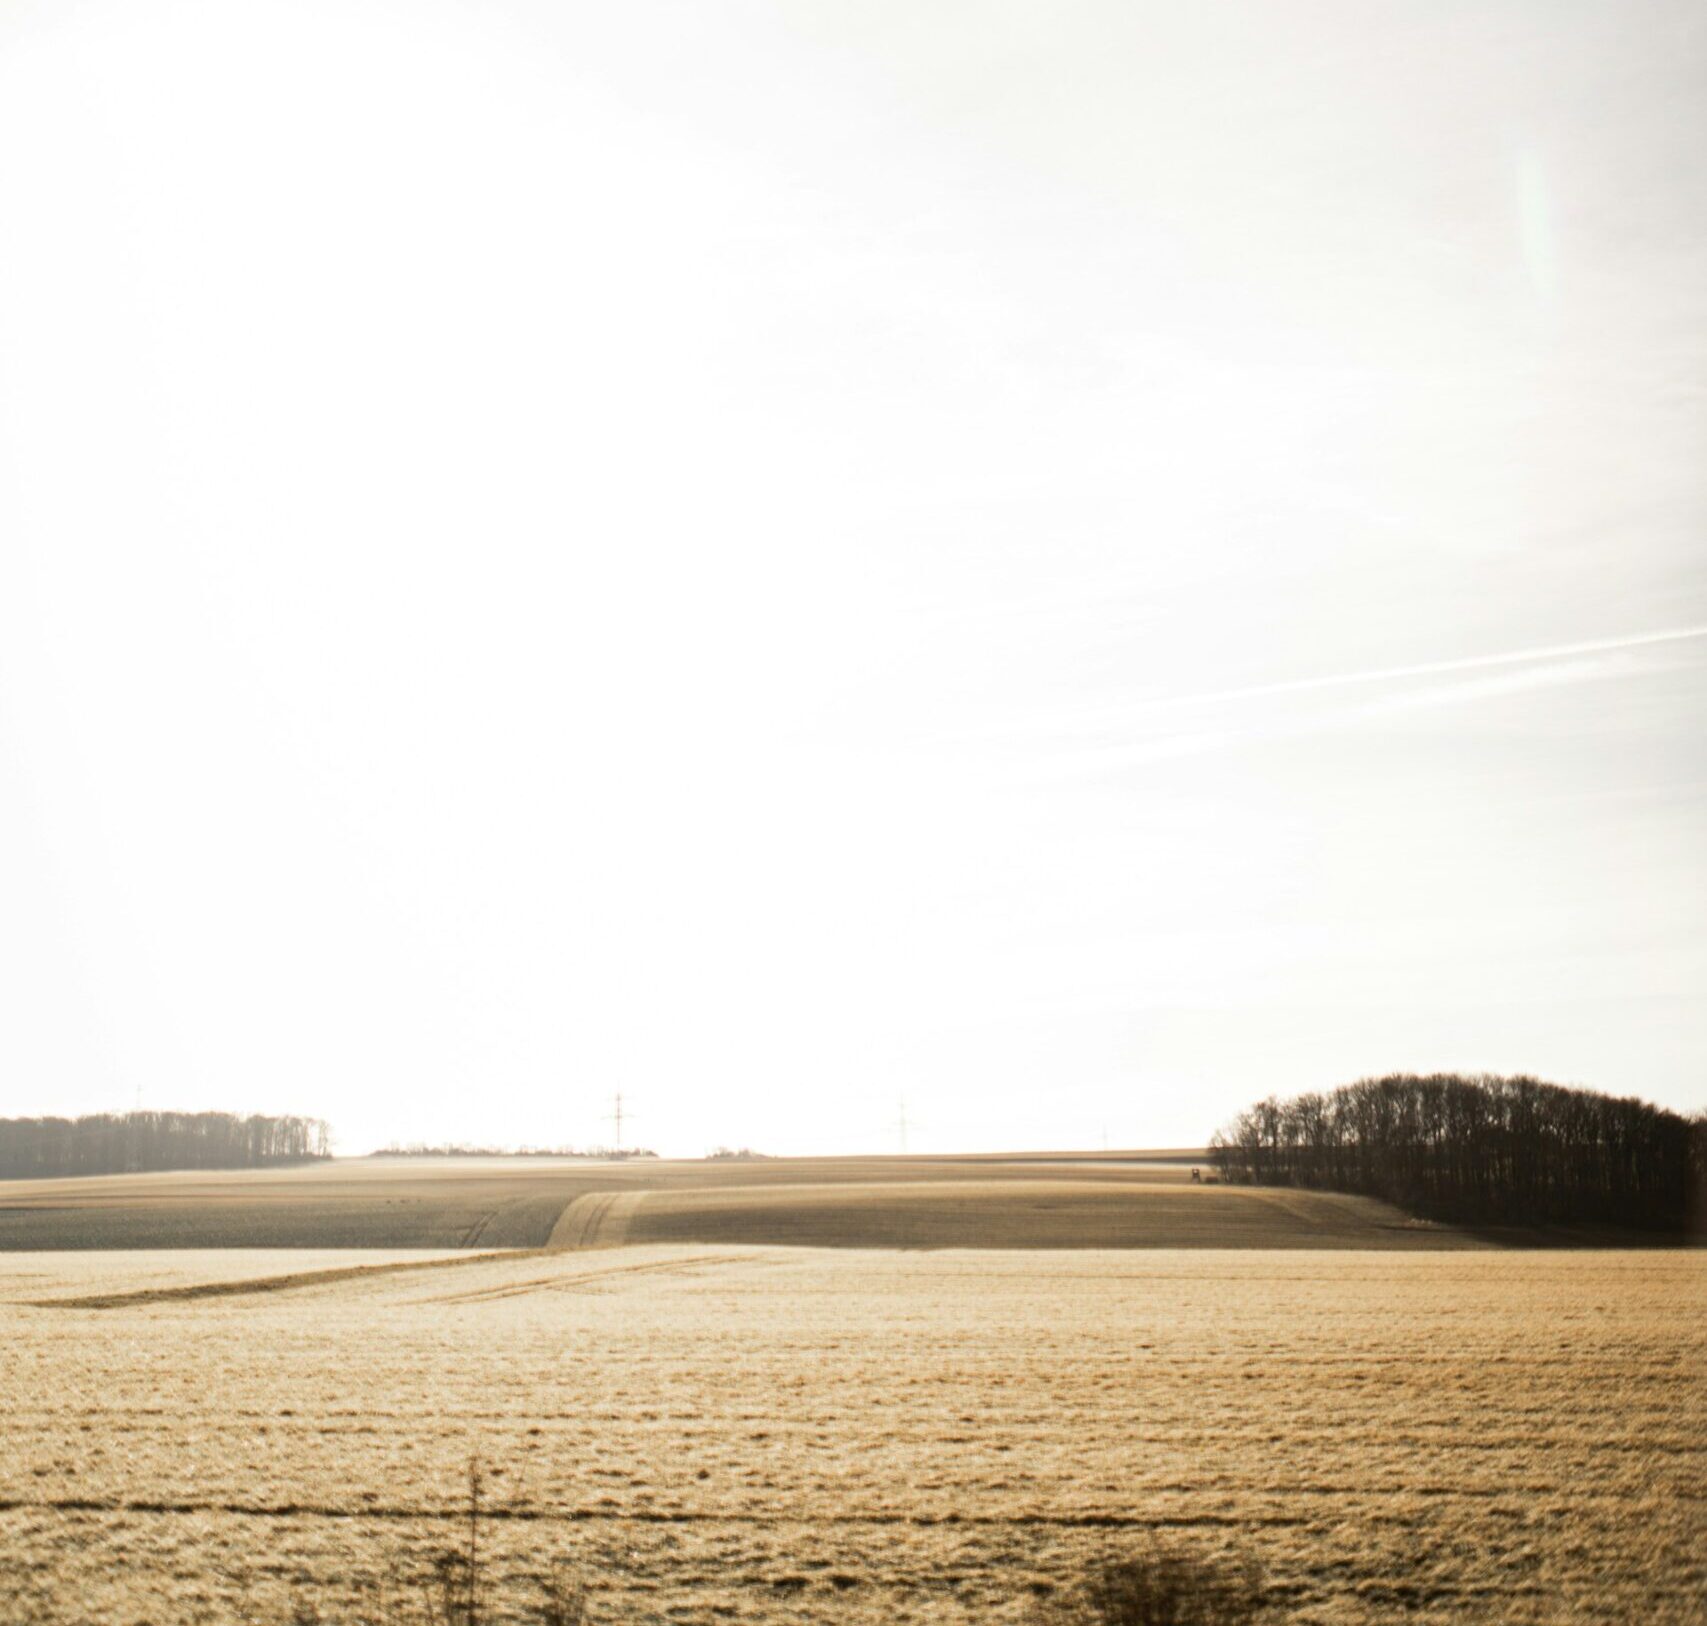
  • Contrast is the tool that controls the difference between black and white
  • Think of it: Just like adjusting TV contrast
  • Find "Contrast" slider, drag right to add depth to photos
  • Recommended values: +10 to +25 is enough, don't go too high
  • After adjustment: blacks become blacker, whites whiter, photo looks more vibrant
  •  If overdone, photos will look artificial
  • "Clarity" slider: Makes photos look sharper (+10 to +30)
  •  Good for landscapes: Mountains, trees, buildings become clearer
  • Be careful with portraits: Too much clarity makes skin look rough
  • Remember: Moderation is key, excess looks unnatural
  •  Landscape photos: Moderately increase contrast and clarity
  • Portrait photos: Add a little contrast, be cautious with clarity
  • When unsure: Better to adjust less than to overdo it

Rescuing Bright and Dark Areas

Sky too white

Can't see cloud shapes

Shadows too dark

Can't see faces or important parts clearly
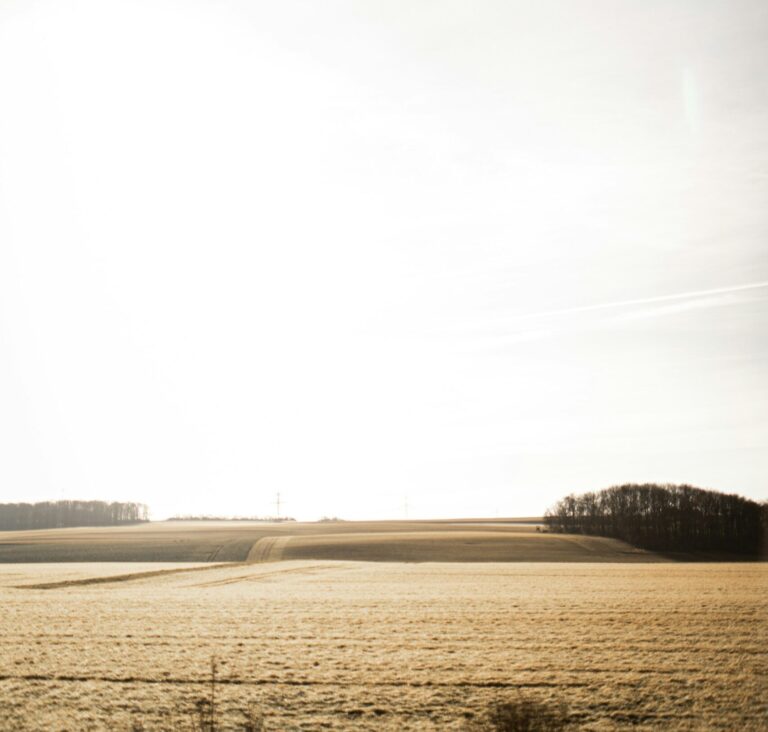
  • All these can be rescued through simple adjustments
  • It’s like giving “first aid” to photos
  • Find "Highlights" slider, drag left (becomes negative)
  • Recommended range: -30 to -60, adjust gradually
  • Mainly used to rescue white skies, lights, etc.
  • After adjustment, you can see more details
  • Find "Shadows" slider, drag right (becomes positive)
  • Recommended range: +30 to +60, don't go too high
  • Mainly used to make dark areas more visible
  • Note: Too high will create noise (grain)
  • Backlit portraits: Use shadow slider to brighten faces
  • Landscape photos: Use highlight slider to add sky detail
  • Indoor photos: Balance brightness between outside and inside

Making Colors Look Natural

kaja-reichardt-xtFUy10amDs-unsplash
Photos too yellow

Like old photos with yellow tint

plan
Photos too blue

Like shot in shadows, cold feeling
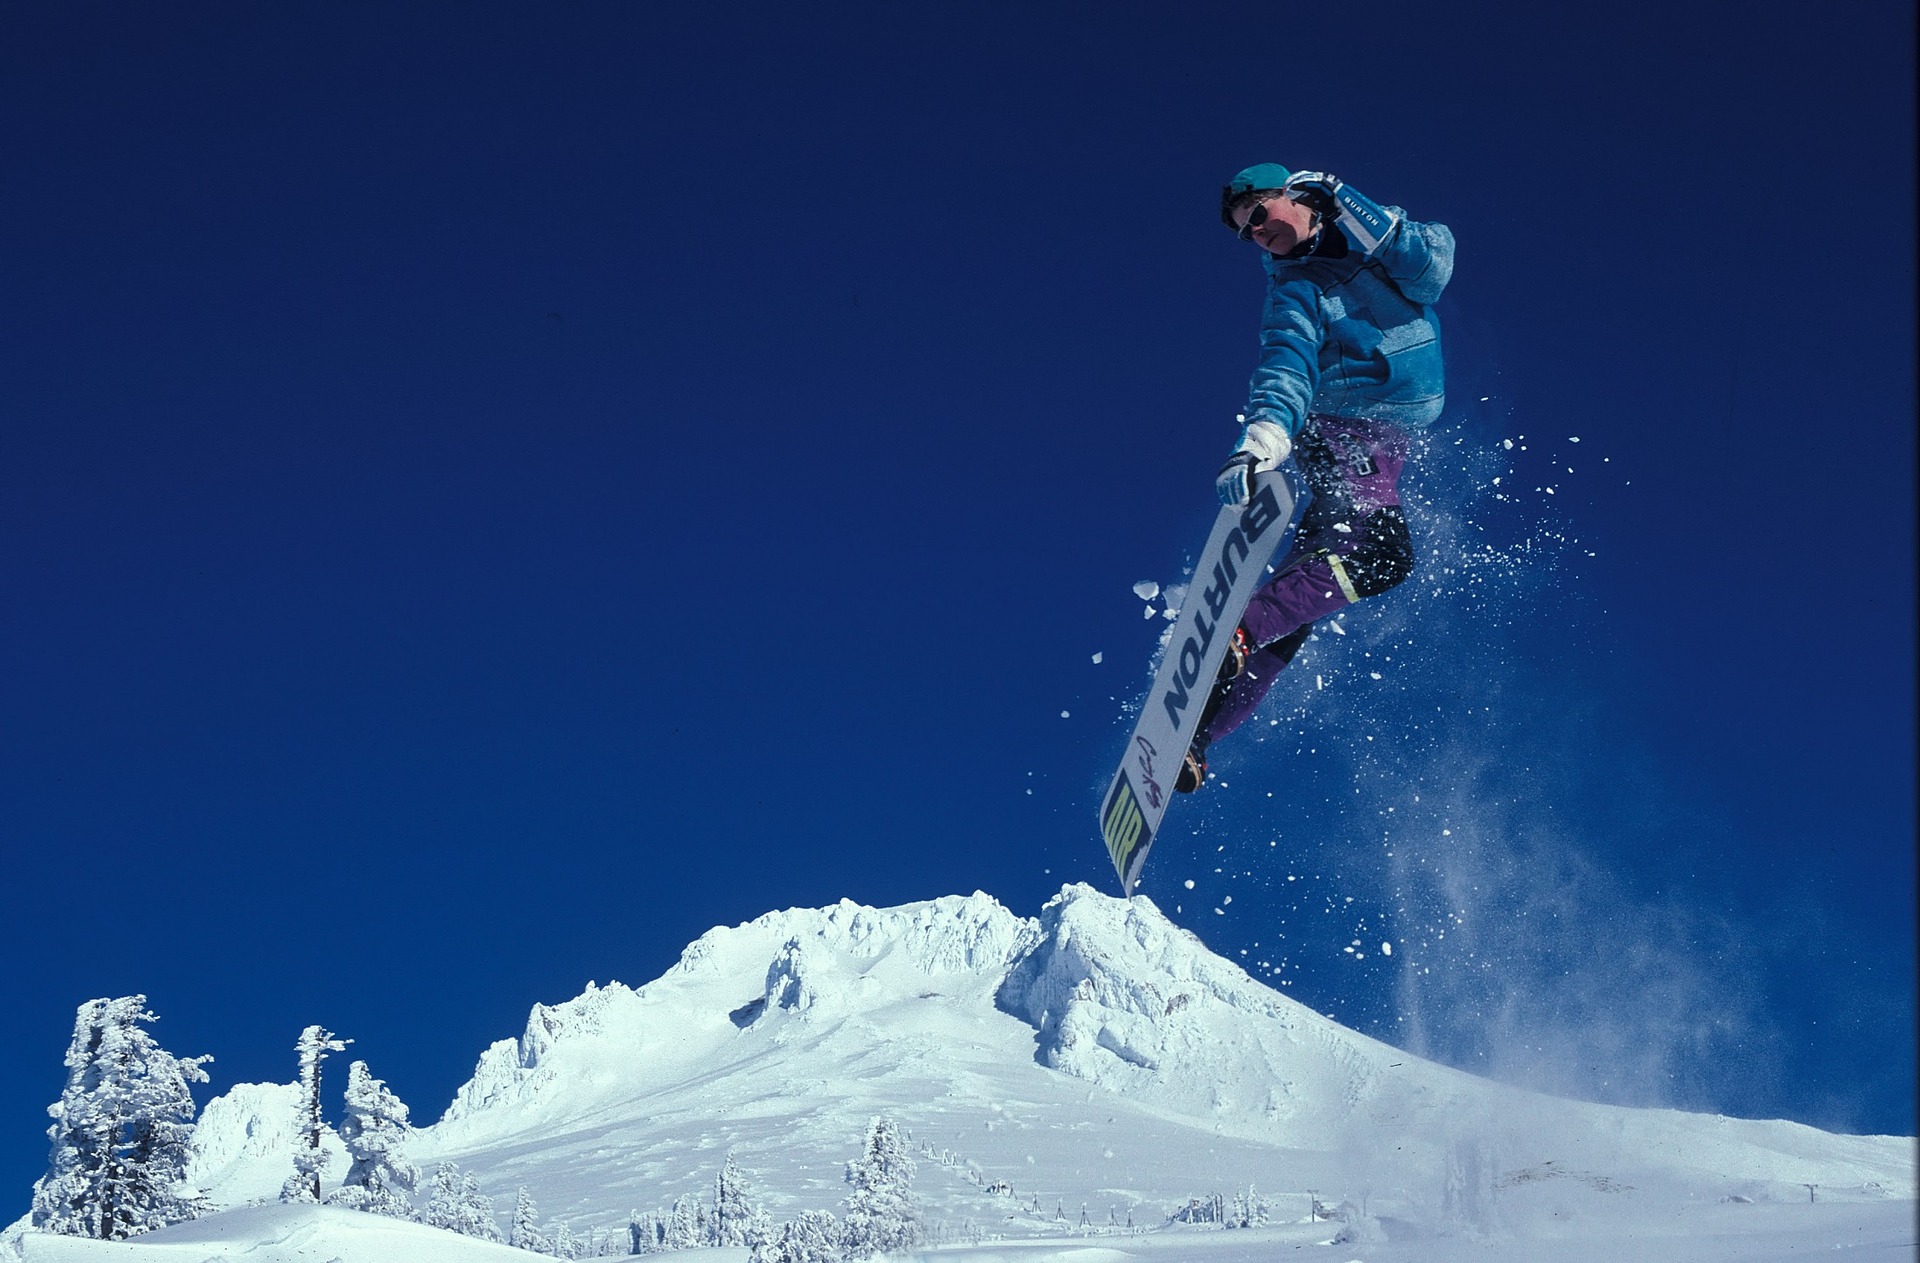
Normal colors

White objects look white

  • Simple understanding: Make white paper look white in photos
  • Find"Temperature" slider: drag left for cooler (blue), right for warmer (yellow) 
  • Photos too yellow: drag left a bit
  • Photos too blue: drag right a bit
  • Indoor lighting photos: Usually too yellow, need cooler adjustment
  • Cloudy day photos: Usually too blue, need warmer adjustment
  • Daylight photos: Usually don't need major adjustments 
  • Remember: Natural is best
  • Backlit portraits: Use shadow slider to brighten faces
  • Landscape photos: Use highlight slider to add sky detail
  • Indoor photos: Balance brightness between outside and inside
  • Look at white objects in photos (clothes, paper, walls)
  • If they look white, colors are correct
  • If they look yellow or blue, adjustment needed
  • Trust your eyes, if it looks comfortable, it's right